
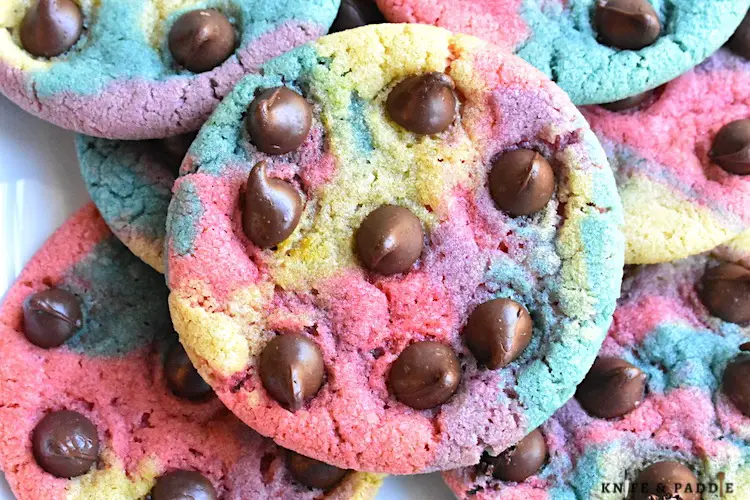
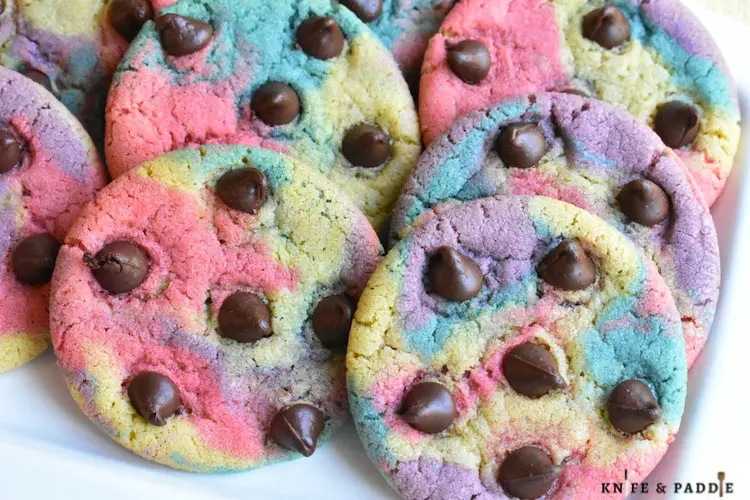
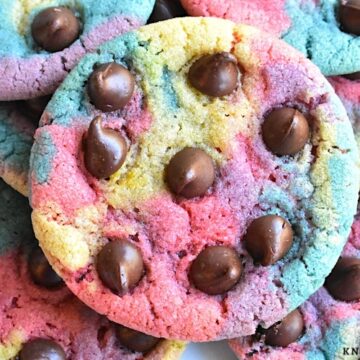
These Easter Chocolate Chip Cookies are a fun, bright and colorful spin on the classic. Same delicious taste with a festive touch!
Easter is the perfect time to bake delicious, festive treats, and these soft and chewy Easter Chocolate Chip Cookies are a must-have for any celebration. With bright, festive colors, rich chocolate chips, and a buttery, chewy texture, these cookies bring together everything you love about classic chocolate chip cookies with a fun Easter twist. Whether you’re making them for an Easter egg hunt, a family gathering, or just a sweet treat for yourself, this step-by-step guide will ensure you get perfect cookies every time.
Why you’ll love these Easter Chocolate Chip Cookies
- Bright, festive and fun!
- A spin on the classic chocolate chip cookie!
- Soft and chewy!
- Rich and delicious!
- Both kids and adults will love them!
Understanding the Ingredients in these Easter Chocolate Chip Cookies
- Butter: Provides richness and moisture. Using softened butter helps achieve a creamy dough.
- Crisco: Creates cookies that are slightly crunchy on the outside but chewy on the inside.
- Brown Sugar: Adds moisture and a deep caramel-like flavor, making the cookies extra chewy.
- Granulated Sugar: Creates a slight crispiness on the edges.
- Eggs: Help bind the dough and contribute to the chewy texture.
- Pure Vanilla Extract: Enhances flavor and complements the chocolate.
- All-Purpose Flour: Provides structure to the cookies.
- Baking Soda: Ensures the cookies rise properly.
- Salt: Balances sweetness and enhances flavor.
- Food Coloring: Adds fun and festive colors.
- Chocolate Chips: Extra chocolatey goodness in every bite.
Easter Chocolate Chip Cookies-Ingredients
- ½ cup butter (softened)
- ½ cup vegetable shortening
- 1 cup granulated sugar
- ½ cup dark brown sugar (packed)
- 2 eggs
- 1½ tsp pure vanilla extract
- 2½ cups flour
- 1 tsp baking soda
- 1 tsp salt
- 1 cup chocolate chips
- food coloring (purple, blue, pink, yellow)

Step-by-Step-Instructions
Preheat Oven
Start by preheating your oven to 350°F (175°C).
Prepare the Baking Sheet
Use the Doughmakers Baking Sheet or line a baking sheet with parchment paper to prevent sticking and ensure even baking.
Cream the Butter, Shortening and Sugars
In a large mixing bowl, cream together butter, shortening, brown sugar, and granulated sugar until light and fluffy. This step is crucial for creating a smooth and well-mixed dough.
Add Wet Ingredients
Beat in eggs, one at a time, ensuring each is fully incorporated before adding the next. Mix in pure vanilla extract to enhance the flavor.
Mix Dry Ingredients
In a separate bowl, whisk together flour, baking soda, and salt. Slowly add the dry ingredients to the wet mixture, mixing just until combined. Over-mixing can lead to tough cookies, so be careful to stop once the flour is fully incorporated.
Divide the Dough
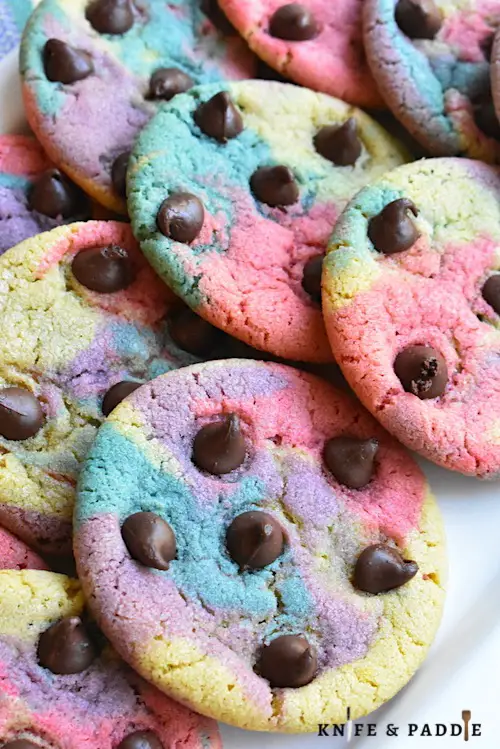
Divide the dough into four equal parts. Add a few drops of different food coloring (purple, blue, pink, yellow) to each part. Mix until the color is incorporated. Take small pieces of each dough and gently roll them together. This will create the marbled look. Place the dough balls onto the prepared baking sheet. Press in chocolate chips.
Baking Time
Bake for 10-12 minutes, or until the edges are set and slightly golden but the centers remain soft. The cookies will continue to firm up as they cool.
Cool on Wire Racks
Allow the cookies to cool on the baking sheet for about 5 minutes before transferring them to a wire rack to cool completely. This prevents them from breaking apart and helps develop the perfect chewy texture.
Decorating and Serving Ideas
- Easter Gift Packaging: Place cookies in clear treat bags, tie them with a pastel ribbon, and gift them to friends and family.
- White Chocolate Drizzle: Melt some white chocolate and drizzle it over the cooled cookies for an elegant touch.
- Pair with Milk or Coffee: These cookies are best enjoyed with a cold glass of milk or a warm cup of coffee.
Storing your Easter Chocolate Chip Cookies
Store cookies in an airtight container at room temperature for up to 5 days. For longer storage, freeze the cookies in an airtight container, placing wax paper between layers, for up to 3 months. Thaw them at room temperature before serving.
Bake these Easter Chocolate Chip Cookies!
Making soft and chewy Easter Chocolate Chip Cookies is easy and fun! Now that you have this foolproof recipe, it’s time to bake and enjoy these delightful Easter treats. Let us know in the comments how your cookies turned out, and don’t forget to share them with loved ones this holiday! Happy Easter, happy baking, and remember…
Life’s too short to eat bad food!
For other great Easter Recipes try:
Easy No-Bake Flower Pretzel Bites
Popular Italian Easter Cookies
Easter Chocolate Chip Cookies
Equipment
- Baking Sheets Doughmakers Baking Sheet
- Stand mixer with paddle attachment or hand mixer
- Mixing bowls
- Cookie spatula
- Wire racks
Ingredients
- ½ cup butter softened
- ½ cup vegetable shortening
- 1 cup granulated sugar
- ½ cup dark brown sugar packed
- 2 eggs
- 1½ tsp pure vanilla extract
- 2½ cups flour
- 1 tsp baking soda
- 1 tsp salt
- 1 cup chocolate chips
- food coloring purple, blue, pink, yellow
Instructions
- Preheat oven to 350°F (175°C).
- Use a Doughmakers Baking Sheet or line a baking sheet with parchment paper.
- Using a stand mixer with a paddle attachment or a hand mixer, cream butter, shortening, granulated sugar and brown sugar until light and fluffy.
- Beat in eggs, one at a time, ensuring each is fully incorporated before adding the next. Pour in pure vanilla extract.
- In a separate bowl, whisk together flour, baking soda and salt. Slowly add the dry ingredients beating just until combined.
- Divide the dough into four equal parts. Add a few drops of different food coloring (purple, blue, pink, yellow) to each part. Mix until the color is incorporated.
- Take small pieces of each dough and gently roll them together. This will create the marbled look.
- Place the dough balls onto the prepared baking sheet. Press in chocolate chips.
- Bake for 10-12 minutes or until the edges are set and slightly golden but the centers remain soft.
- Allow the cookies to cool on the baking sheet for about 5 minutes before transferring them to a wire rack to cool completely.
- Serve and enjoy!
- Store cookies in an airtight container for up to 5 days. For longer storage, free cookies in an airtight container, placing wax paper between layers, for up to 3 months. Thaw them at room temperature before serving.


Recent Comments