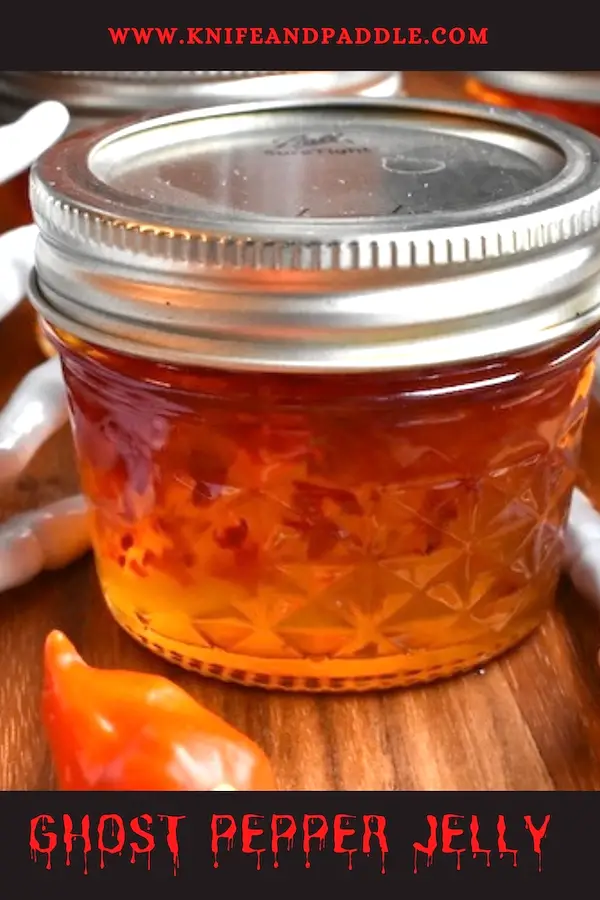
This Ghost Pepper Jelly is made with the 8th hottest pepper on earth! Get the fire extinguisher ready and get ready to enjoy some serious sweet heat!
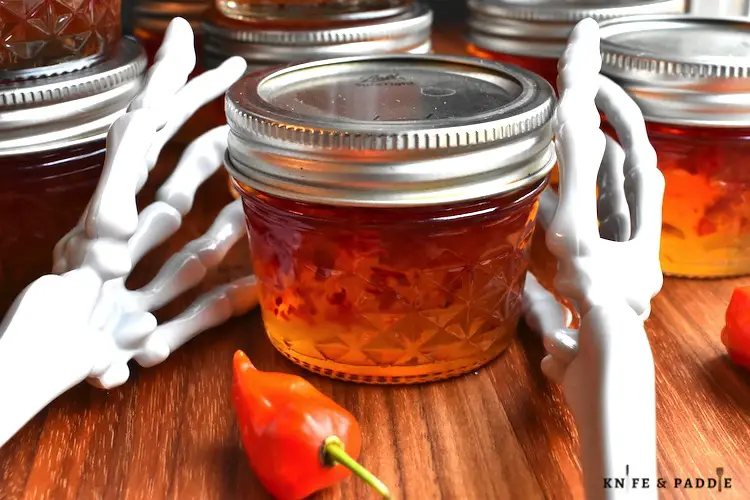
Halloween is just around the corner and if you like SPICY-HOT food then this Ghost Pepper Jelly is for you! This recipe combines the bold heat of ghost peppers with a sweet, jam-like consistency, creating a condiment that’s as versatile as it is exciting. It’s a fantastic choice for anyone who enjoys adding a fiery twist to their meals, and it works well as a spread, a glaze, or even a finishing touch on cheese boards. Whether you’re an experienced home cook or new to canning, today we will walk you through everything you need to know about making your own ghost pepper jelly. Get ready for some scary fun and let’s get started!
Why you’ll love Ghost Pepper Jelly
- Packs some serious heat!
- Great as a spread, glaze or condiment!
- Easy to make!
- Package up as a homemade gift!
- Spicy, fruity, sweet flavor!
Understanding the Ingredients for Ghost Pepper Jelly
For this recipe, you’ll need a few key ingredients to achieve the perfect balance of heat and sweetness:
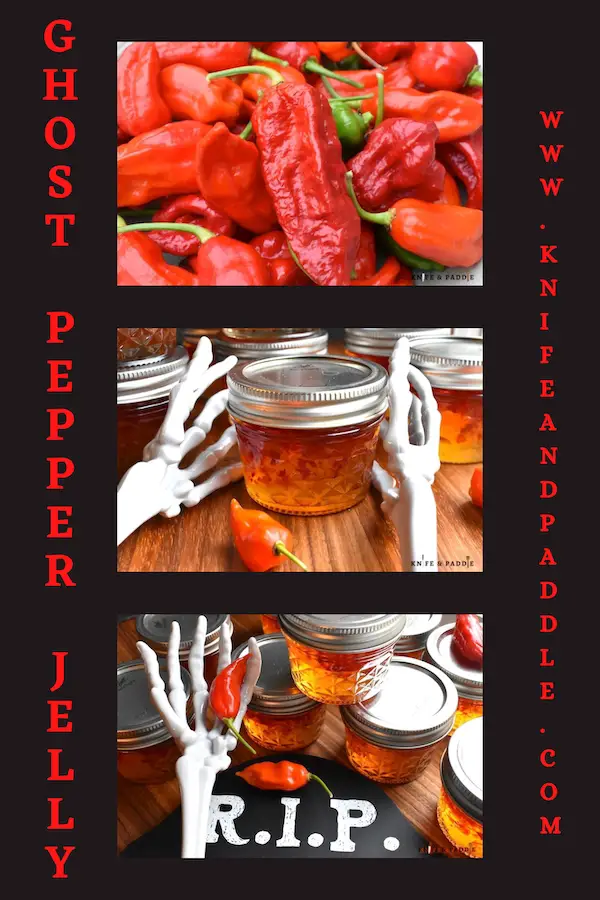
- Ghost Peppers (4oz): The star ingredient, ghost peppers pack intense heat, so use caution when handling them.
- Granulated Sugar (4 cups): Essential for the jelly’s texture and sweetness.
- Apple Cider Vinegar (1 ¼ cup): Adds acidity to balance the flavor and helps preserve the jelly.
- Lime Juice (¼ cup): Adds a nice citrusy flavor and zing.
- Salt (1 tsp): Brings all the flavors together.
- Liquid Pectin (1 pouch-3oz): Provides the gel-like consistency that turns the mixture into jelly.
Pro Tip: Wear gloves when handling ghost peppers to avoid skin irritation. Use fresh, ripe ingredients for the best flavor.
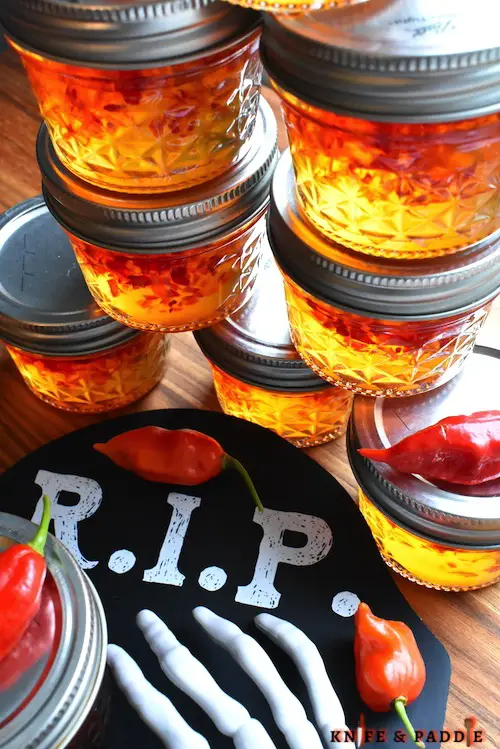
Fun facts about the Ghost Pepper
- Scores 1,000,000 on the Scoville scale.
- Ranks 8th on the scale for the world’s hottest peppers.
- Is about 100 times hotter than a jalapeño and 10 times hotter than a habanero.
- The name Ghost Pepper came from the Indian word “Bhut,” which means malevolent spirit.
- Has been used to make smoke bombs.
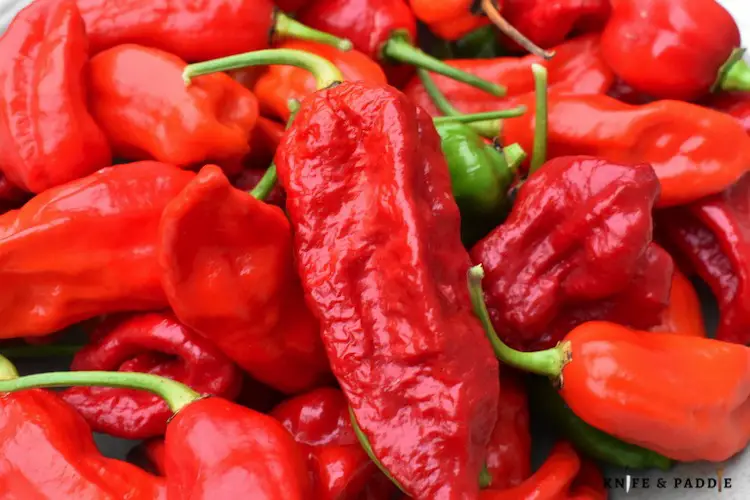
- Can be red, orange, yellow, or chocolate in color.
- Range in size from 2.5 to 3.3 in length.
- Has an intense sweet, fruity flavor.
- The heat kicks in about 30 seconds after ingestion.
- Wear gloves when handling! Oils can get in your skin, making your hands feel like they are on fire!
Step-by-Step Instructions for Ghost Pepper Jelly
- Prepare the Peppers: Put on gloves. Begin by chopping the ghost peppers. For a smoother texture, remove seeds if desired. For less heat, remove the membrane.
- Combine Ingredients in a Pot: Place the chopped peppers, sugar, apple cider vinegar, lime juice and salt in a large sauce pan.
- Cooking the Mixture: Bring the pot to a boil over medium-high heat, stirring constantly to prevent the sugar from burning. Once boiling, lower the heat to maintain a steady simmer for about 10 minutes. This helps soften the peppers and allows the flavors to meld.
- Add the Pectin: Stir in the liquid pectin, return the mixture to a rolling boil, and let it boil for 1–2 minutes. This step is crucial for achieving the right consistency.
- Test for Doneness: To check if the jelly is ready, use the “plate test”: place a spoonful of the mixture on a chilled plate, wait a few seconds, and then push the edge with your finger. If it wrinkles, your jelly is ready. If not, continue simmering and test again in a few minutes.
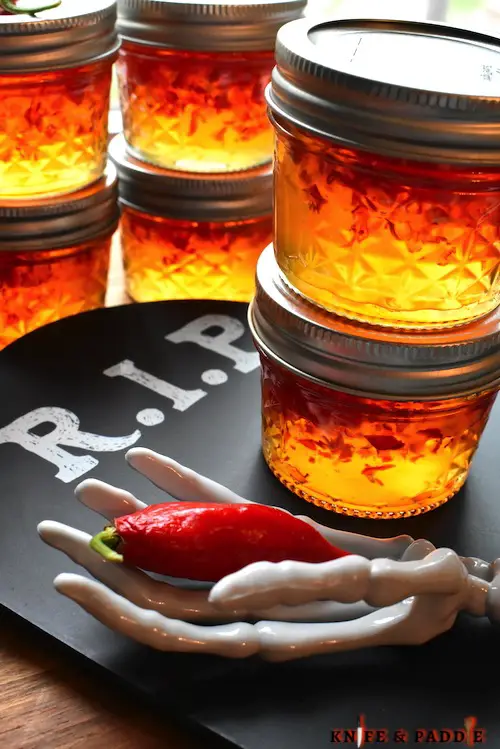
Canning and Storing
Canning allows you to store ghost pepper jelly for extended periods, making it a convenient way to enjoy this spicy treat year-round. Here’s a quick overview of the water-bath canning process:
- Sterilize the Jars: Place your jars in boiling water for 10 minutes to sterilize them. Keep the jars warm until ready to use.
- Fill the Jars: Carefully ladle the hot jelly into the jars, leaving about ¼ inch of headspace at the top. Wipe the rims with a clean, damp cloth and secure the lids.
- Process in Water Bath: Place the jars in a pot of boiling water, ensuring they’re covered by at least an inch of water. Process for 10 minutes, then remove and allow them to cool.
- Listen for the Pop: While the jars are cooling you will start to hear a “pop” as the jars seal. Once the jars are completely cooled, check the seal by pressing the center of each lid with your finger. A sealed jar should NOT spring back. If the lid is not sealed place in the refrigerator and use within 3-4 month for best taste. If the jars are properly sealed, sore in a cool, dry, dark place for up to 1 year.
Ways to use Ghost Pepper Jelly
One of the best aspects of ghost pepper jelly is its versatility in the kitchen. Here are some popular ways to use it:
- On Cheese Boards: The sweet heat pairs beautifully with creamy cheeses like brie, goat cheese, or cream cheese.
- As a Glaze for Meats: Brush ghost pepper jelly on chicken, pork, or ribs during the last 10 minutes of grilling for a sticky, spicy glaze.
- With Breakfast: Add a dollop to scrambled eggs, breakfast sandwiches, or even a bagel with cream cheese for a bold start to your day.
- Risk takers: For the more adventurous, try mixing it into salad dressings, drizzling over vanilla ice cream for a surprising twist, or incorporating it into a spicy cocktail.
Tips for Adjusting Heat Level in Ghost Pepper Jelly
The ghost pepper brings significant heat, but you can easily adjust it to your preference:
- Reduce the Ghost Peppers: For a milder jelly, use less ghost peppers or even mix it with milder peppers like jalapeños.
- Add some Bell Peppers or Sugar: Add some bell peppers or a little extra sugar to balance out the heat.
- Remove the Seeds and Membrane: There’s a lot of heat in the seeds and membrane so cut them out before chopping for less intense heat.
- Experiment with Tasting as You Go: Take small tastes while cooking to determine if it’s spicy enough, keeping in mind that the heat will be slightly milder once the jelly cools.
Wrapping Up: Storage Tips and Shelf Life
When properly canned, ghost pepper jelly can be stored in a cool, dark place for up to a year. If you opt not to can or use the jelly immediately, it will last 3-4 weeks in the refrigerator.
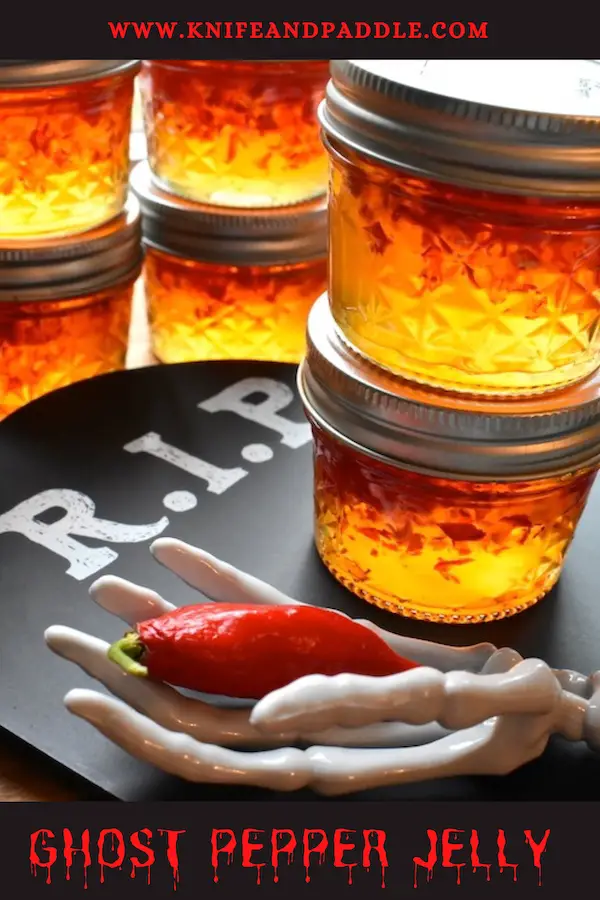
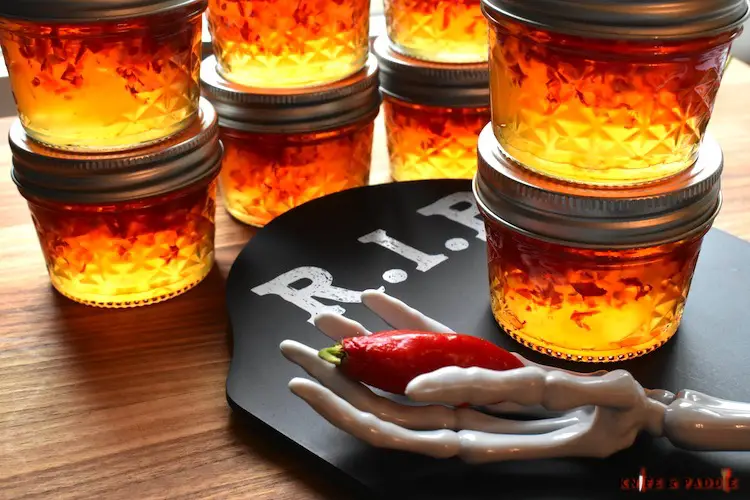
Ghost pepper jelly also makes a fantastic, unique gift for friends and family who enjoy spice in their lives. Dress up a jar with a decorative ribbon or label for a thoughtful, homemade present or package them in a festive gift box for the holidays!
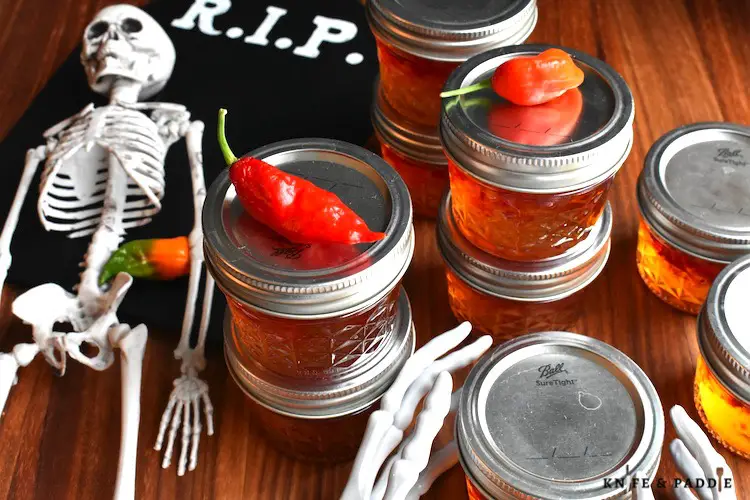
This Ghost Pepper Jelly is Spooktacular!
Making ghost pepper jelly at home is a rewarding way to enjoy the bold flavor of ghost peppers in a form that’s both versatile and long-lasting. With these step-by-step instructions and tips for handling and balancing the heat, you’ll be able to craft a perfect batch that suits your taste.
Can you handle the heat? Let us know how you use your ghost pepper jelly! Share your favorite pairings and any creative twists you discover. Happy cooking! And remember…
Life’s too short to eat bad food!
For other SPICY recipes try:
Candied Jalapeños (Cowboy Candy)
Ghost Pepper Jelly
Equipment
- Large stock pot
- Large sauce pan
- Cutting board
- Knife
Ingredients
- 4 oz ghost peppers
- 4 cups granulated sugar
- 1 ¼ cups apple cider vinegar
- ¼ cup lime juice freshly squeezed
- 1 tsp salt
- 3 oz liquid fruit pectin
Instructions
- Put on gloves, Finely chop the ghost peppers and add them to a large sauce pan.
- Add sugar, apple cider vinegar, lime juice, and salt.
- Bring to a boil over medium-high heat, stirring constantly to prevent the sugar from burning. Once boiling, lower the heat to maintain a steady simmer for about 10 minutes.
- Stir in the liquid pectin, return the mixture to a rolling boil, and let it boil for 1–2 minutes, stirring constantly.
- To check if the jelly is ready, use the “plate test”: place a spoonful of the mixture on a chilled plate, wait a few seconds, and then push the edge with your finger. If it wrinkles, your jelly is ready. If not, continue simmering and test again in a few minutes.
- Paddle the hot liquid into sterilized jars, leaving about ¼ inch of headspace at the top. Wipe the rims with a clean, damp cloth and secure the lids.
- To Can: Place the jars in a pot of boiling water, ensuring they’re covered by at least an inch of water. Process for 10 minutes, then remove and allow them to cool.
- While the jars are cooling you will start to hear a "pop" as the jars seal. Once the jars are completely cooled, check the seal by pressing the center of each lid with your finger. A sealed jar should NOT spring back.
- To store: place jars in a cool, dry, dark area for up to 1 year. Store opened jars in the refrigerator for up to 3-4 weeks.
- Enjoy!


Recent Comments