
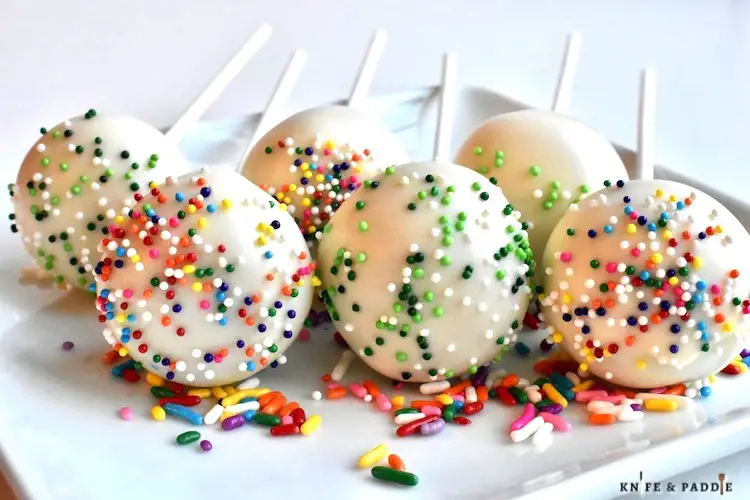
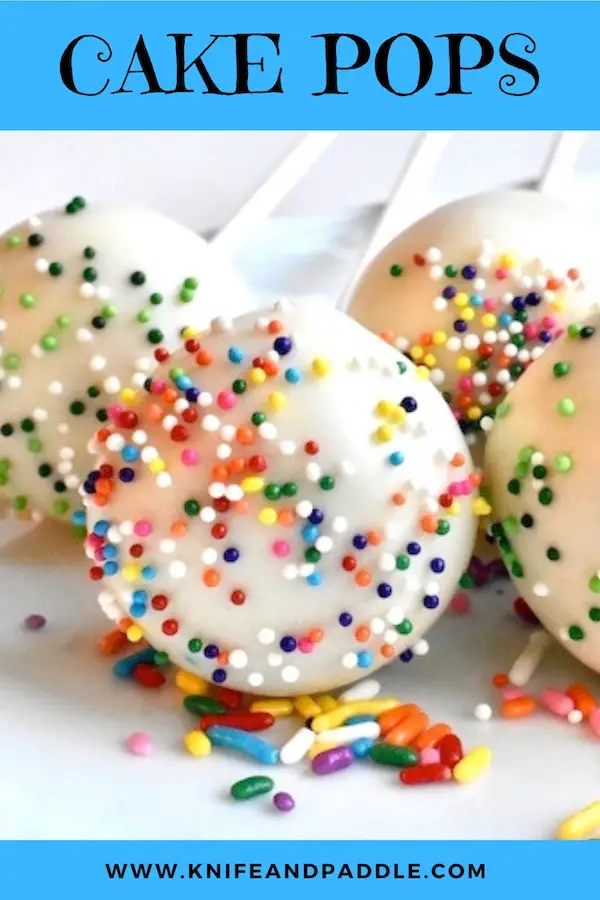
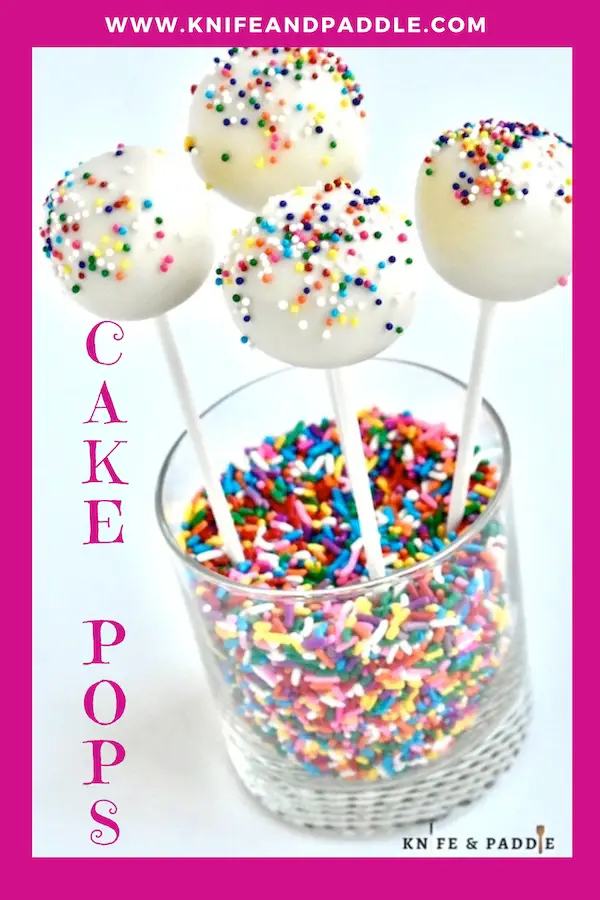
Make these Cake Pops for birthdays, holidays or any time your kids are asking for a bite-sized treat. Easy to make, fun and oh so delicious!
Cake pops have become a beloved treat for various occasions, from birthday parties to bridal showers, holidays or anytime you are craving something fun and delicious. These bite-sized delights offer a perfect blend of cake and frosting, all conveniently served on a stick. In this blog post, we’ll explore how to create your own irresistible cake pops right in your kitchen. Whether you’re a novice baker or a seasoned pro, making cake pops is a fun and rewarding experience that allows for endless creativity.
Reasons to love Cake Pops
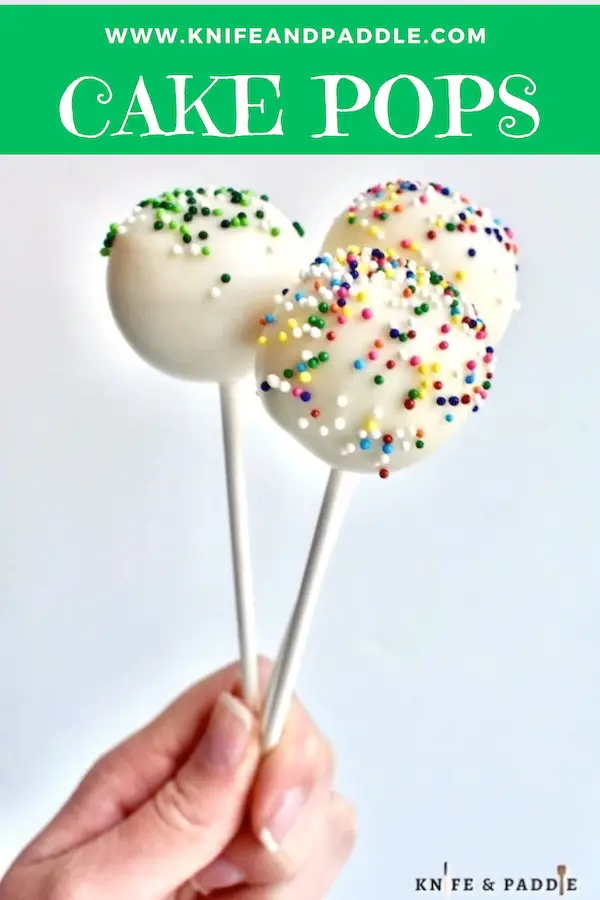
- Bite-sized treat!
- Fun, festive and delicious!
- Great for birthdays, holidays, bridal or baby showers!
- Cake on a stick!
- Kids and adults love them!
Understanding the Ingredients in Cake Pops
To make the perfect cake pops, you’ll need a few key ingredients:
- Cake crumbs: Use your favorite cake recipe or store-bought cake to create fine crumbs.
- Frosting: Choose a frosting flavor that complements your cake, such as vanilla, chocolate, or cream cheese. You can make your frosting from scratch or buy a container in the store.
- Candy melts or coating: This melts smoothly and provides a crisp shell for your cake pops.
Equipment Needed
- 9×13 inch baking pan
- Mixing Bowl
- hand mixer or whisk
- Wire rack
- Baking sheet
- Parchment paper
- Glass measuring cup
- Cake pop sticks
- Styrofoam block/cake pop stand
Cake Pops-Ingredients
- 1 15.25 oz package yellow cake mix (Betty Crocker)
- 1 cup water
- 3 eggs
- 1/3 cup vegetable oil
Store Bought Frosting
- 16 oz container of store bought frosting (Betty Crocker)
Homemade Frosting
- 1/2 cup butter (softened)
- 2 cups powdered sugar
- 3 tbsp heavy cream or milk
- 1 tsp pure vanilla extract
Coating
- 32 oz candy melts or coating
- 1-2 tsp vegetable shortening (if needed to thin out the candy melts)
Cake Pops-Instructions
- Preheat oven to 350°F (177°C). Spray baking pan with baking spray with flour. Set aside.
- In a mixing bowl, add cake mix, water, eggs and vegetable oil. Use a hand mixer, stand mixer with paddle attachment or whisk and beat until smooth, about 2 minutes. Pour batter into prepared baking pan.
- Bake for 25-30 minutes, or until a toothpick inserted into the center comes out clean.
- Set pan onto a wire rack and cool completely.
Homemade frosting
- Use a hand mixer and beat butter until creamy. Add powdered sugar, heavy cream and vanilla and beat until smooth and creamy.
- Once cake has cooled completely, use a knife to trim off the crust/hard pieces.
- Crumble the cake into a large mixing bowl. Make sure there are no large lumps.
- If using the homemade frosting add it to the mixing bowl. If using store bought frosting add 2/3 of the container to the mixing bowl.
- Beat until the frosting and the cake is fully combined. Mixture may be sticky.
- Scoop about 1 tbsp of the mixture and roll it into a ball. They do not need to be perfect at this point. Place balls on a parchment lined baking sheet. Freeze for 1 hour to set. Afterwards, re-roll the balls until they are smooth and perfectly round in shape. Place the balls back into the freezer, as you will work in batches.
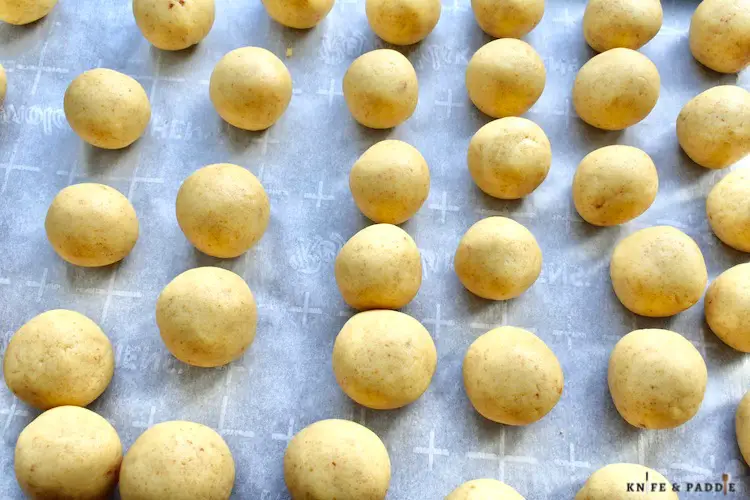
- Place 1/4 cup of candy melts into a 2-cup glass measuring cup. Microwave in 30 second intervals, stirring after each interval, until the candy melts are melted and smooth.
Dipping the Sticks/Coating the Cake Balls
- Work in batches. Remove 10 cake balls from the freezer at a time. Dip a lollipop stick into the melted coating about 1/2 inch. Insert stick into the center of each cake ball, about 1/2 way through. Place in the refrigerator or in the freezer (if they will fit) and continue this process until all the cake balls are finished. Let the sticks set for 20 minutes.
- Add the remaining candy melts to a 2-cup glass measuring cup. Microwave for 30 second intervals, stirring after each, until the candy melts are melted and smooth. If mixture is too thick, add 1-2 tsp of vegetable shortening to thin it out.
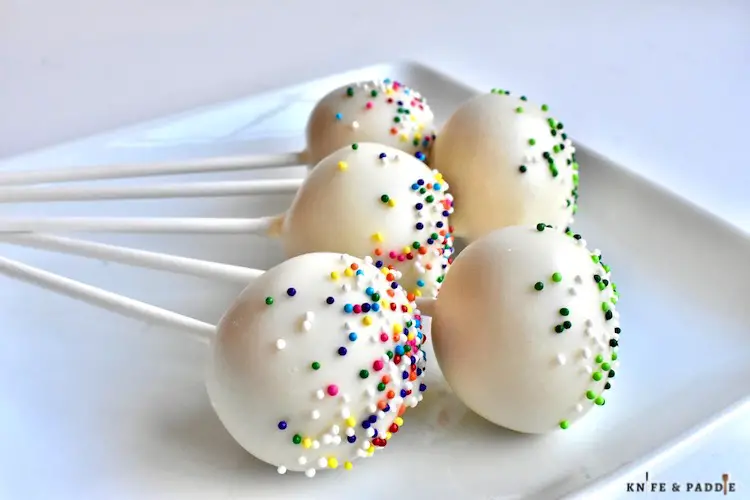
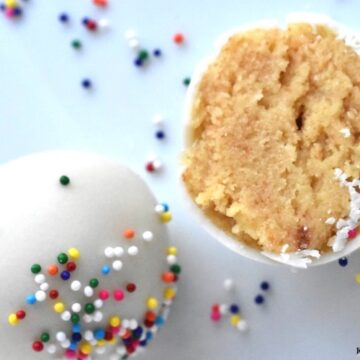
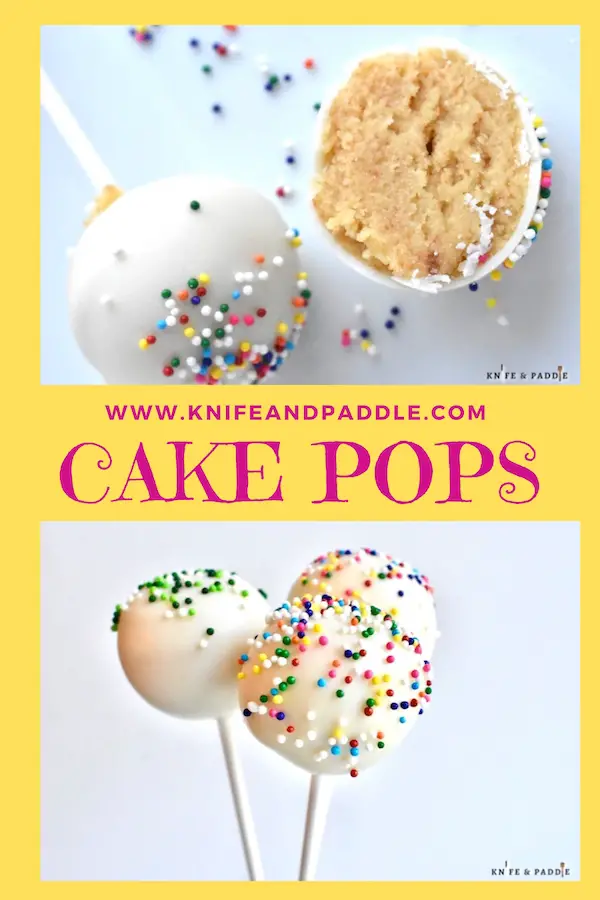
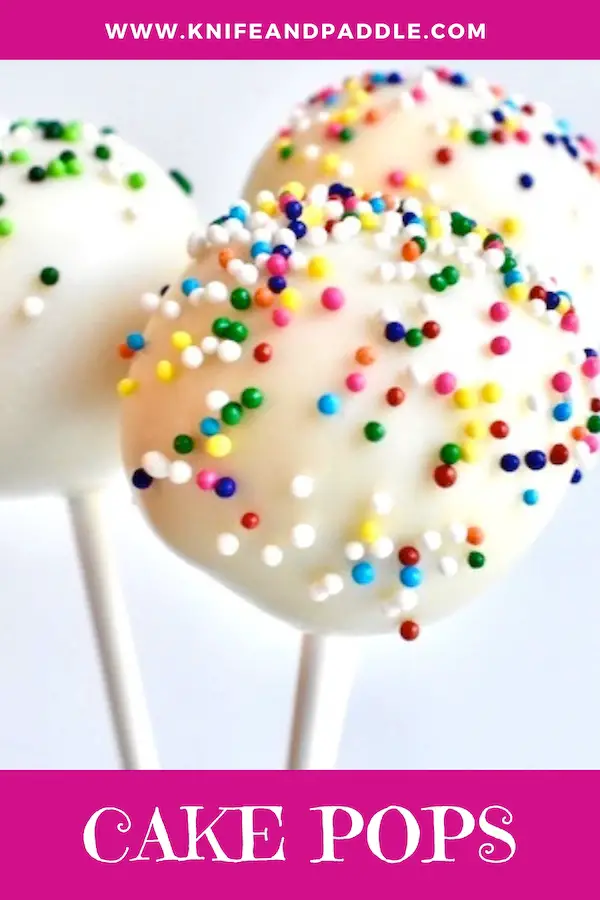
- Once again, working in batches, dip each cake ball into the melted coating until it is completely covered. Gently tap excess coating, allowing it to drip off. Add nonpareils or sprinkles to the top. Place the cake pops upright into a styrofoam block. Continue process until all the cake balls are coated and decorated. Make sure the cake balls are very cold before dipping for best results.
- Allow coating to set for about 1 hour. You can also place them in the refrigerator to speed up the process.
- Once coating is set, serve and enjoy!
- To store, place in the refrigerator for up to 7 days. To freeze, store in an airtight container or freezer bag and freeze for up to 3 months.
Tips and Tricks for Best Results
- If the cake batter is hard to roll, place it in the refrigerator for 20-30 minutes. Chilling the mixture will make it easier to roll.
- Re-roll chilled cake balls for a smooth and perfectly round shape.
- To prevent the cake balls from falling off the sticks, dip the top of the stick about 1/2 inch into melted candy coating before inserting them. This helps adhere the cake balls to the stick.
- To ensure a nice even and smooth texture, make sure the cake balls are very cold before dipping them into the chocolate.
- Gently tap off excess coating to ensure the coating will not drip down the stick.
- Place cake balls upright, inserting the stick into a styrofoam block to set.
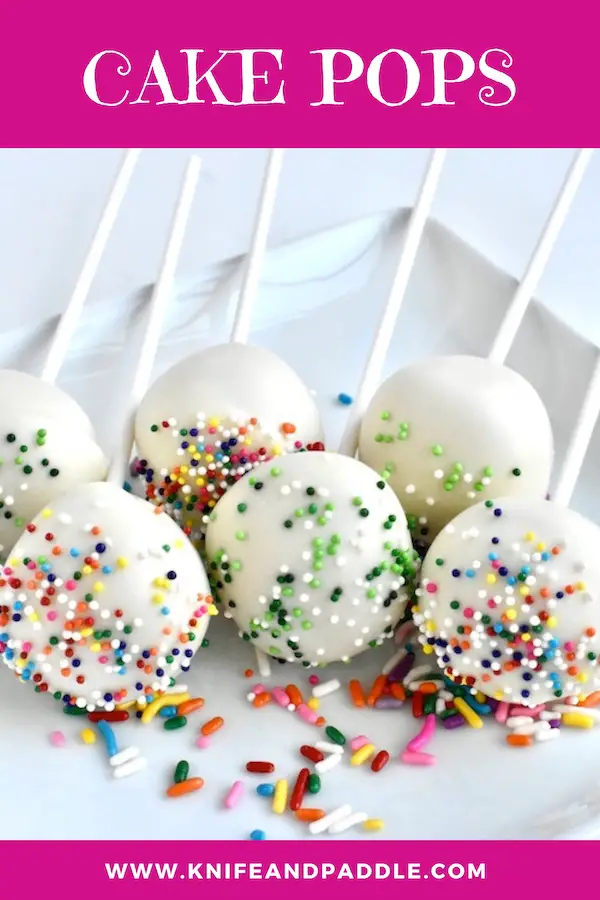
Decorating and Customization
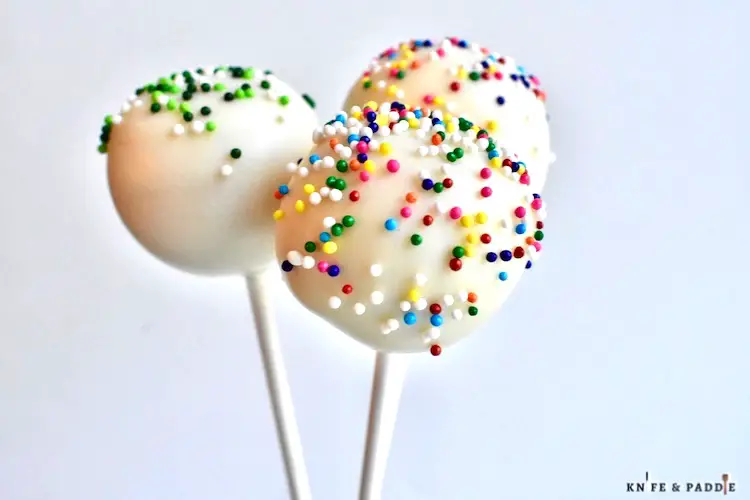
Get creative with your decorations! Sprinkle the coated cake pops with colorful sprinkles, drizzle them with melted chocolate, or add edible glitter for extra sparkle. Choose different color candy melts for a burst of added color.
Grab your favorite cake mix! Choose from chocolate, vanilla, yellow, strawberry, etc. The possibilities are endless! In addition, feel free to experiment with different frostings. Mix it up and see what combinations you like best.
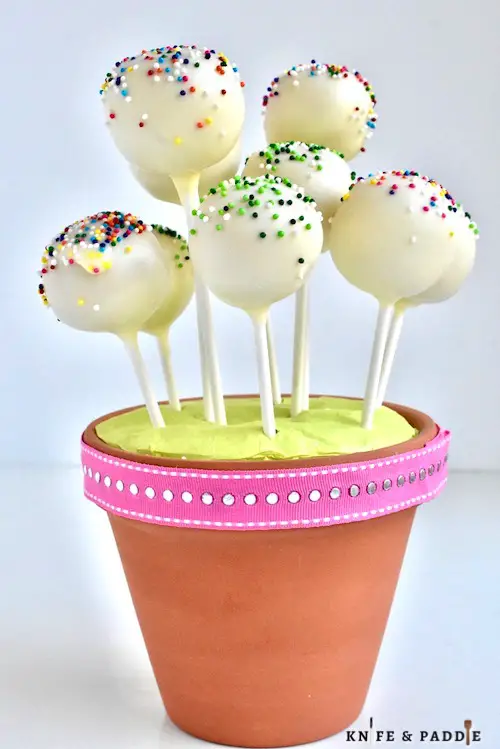
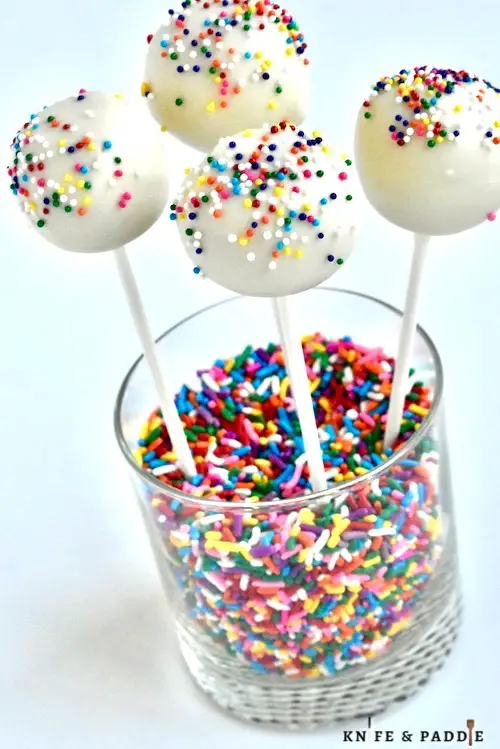
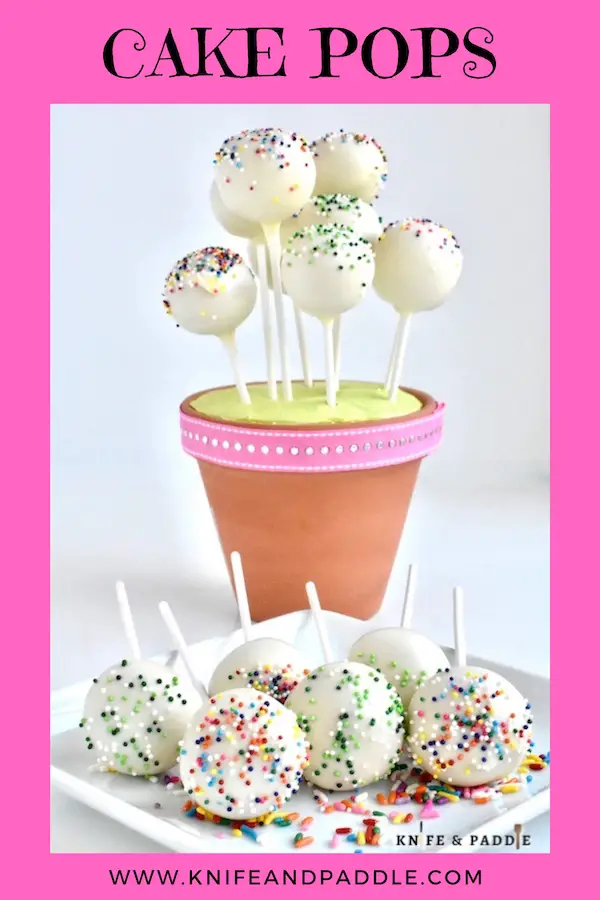
Serving Suggestions
Arrange them on plates, in flower pot, or in a cake pop stand so that your guests can easily grab one and enjoy! Cake pops also make great homemade gifts! Wrap them in individually in cellophane tied with a ribbon or present them in a beautiful bouquet. Get creative and have fun with the presentation!
You’re ready! Gather your ingredients and let’s get started…
With this detailed guide, you’re ready to create your own batch of irresistible Cake Pops. Whether you’re making them for a special occasion or just for fun, these little treats are sure to impress. Get creative with flavors, decorations, and presentation, and don’t forget to share your creations with us in the comments below. Happy baking and remember…
Life’s too short to eat bad food!
For other fun and festive candy coated bite-sized treats try:
Easy No-Bake Flower Pretzel Bites
No Bake Chocolate Dipped S’mores Bites
Quick Chocolate Covered Strawberries
White Chocolate Covered Pretzels
Cake Pops
Equipment
- 9×13 inch baking pan
- Mixing Bowl
- hand mixer, stand mixer or whisk
- Wire rack
- Baking sheet
- Parchment paper
- 2-cup glass measuring cup
- Cake pop sticks
- Styrofoam block
Ingredients
- 13.25 oz package yellow cake mix Betty Crocker
- 1 cup water
- 3 eggs
- 1/3 cup vegetable oil
Store Bought Frosting
- 16 oz container of store bought frosting Betty Crocker
Homemade Frosting
- 1/2 cup butter softened
- 2 cups powdered sugar
- 3 tbsp heavy cream or milk
- 1 tsp pure vanilla extract
Coating
- 32 oz candy melts or coating
- 1-2 tsp vegetable shortening if needed to thin out the candy melts
- nonpareils or sprinkles
Instructions
- Preheat oven to 350°F (177°C). Spray baking pan with baking spray with flour. Set aside.
- In a mixing bowl, add cake mix, water, eggs and vegetable oil. Use a hand mixer, stand mixer with paddle attachment, or whisk and beat until smooth, about 2 minutes. Pour batter into prepared baking pan.
- Bake for 25-30 minutes, or until a toothpick inserted into the center comes out clean.
- Set pan onto a wire rack and cool completely.
Homemade frosting
- Use a hand mixer and beat butter until creamy. Add powdered sugar, heavy cream and vanilla and beat until smooth and creamy.
- Once cake has cooled completely, use a knife to trim off the crust/hard pieces.
- Crumble the cake into a large mixing bowl. Make sure there are no large lumps.
- If using the homemade frosting add it to the mixing bowl. If using store bought frosting add 2/3 of the container to the mixing bowl.
- Beat until the frosting and the cake is fully combined. Mixture may be sticky.
- Scoop about 1 tbsp of the mixture and roll it into a ball. If mixture is too hard to roll, place it into the refrigerator for 20-30 minutes. They do not need to be perfect at this point. Place balls on a parchment lined baking sheet. Freeze for 1 hour to set. Afterwards, re-roll the balls until they are smooth and perfectly round in shape. Place the balls back into the freezer, as you will work in batches.
- Place 1/4 cup of candy melts into a 2-cup glass measuring cup. Microwave in 30 second intervals, stirring after each interval, until the candy melts are melted and smooth.
Dipping the Sticks/Coating the Cake Balls
- Work in batches. Remove 10 cake balls from the freezer at a time. Dip a lollipop stick into the melted coating about 1/2 inch. Insert a stick into the center of each cake ball, about 1/2 way through. Place the cake balls back into the refrigerator or in the freezer (if they will fit) and continue this process until all the cake balls are finished. Let the sticks set for 20 minutes.
- Add the remaining candy melts to a 2-cup glass measuring cup. Microwave on 30 second intervals, stirring after each, until the candy melts are melted and smooth. If mixture is too thick, add 1-2 tsp of vegetable shortening to thin it out.
- Once again, working in batches, dip each cake ball into the melted coating until it is completely covered. Gently tap excess coating, allowing it to drip off. Add nonpareils or sprinkles to the top. Place cake pops upright into a styrofoam block. Continue process until all the cake balls are coated and decorated. Make sure the cake balls are very cold before dipping for best results.
- Allow coating to set for about 1 hour. You can also place them in the refrigerator to speed up the process.
- Once coating is set, serve and enjoy!
- To store, place in the refrigerator for up to 7 days. To freeze, store in an airtight container or freezer bag and freeze for up to 3 months.

Recent Comments