
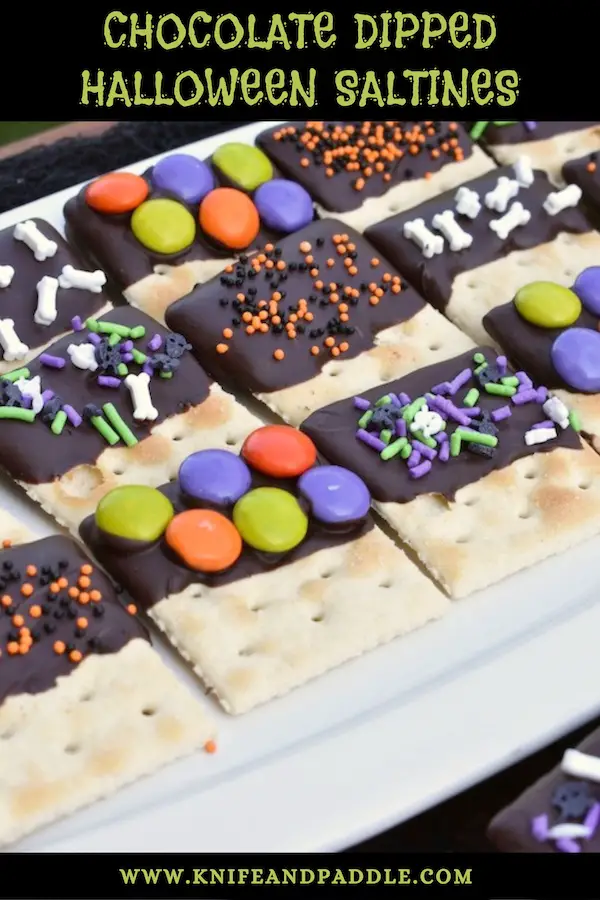
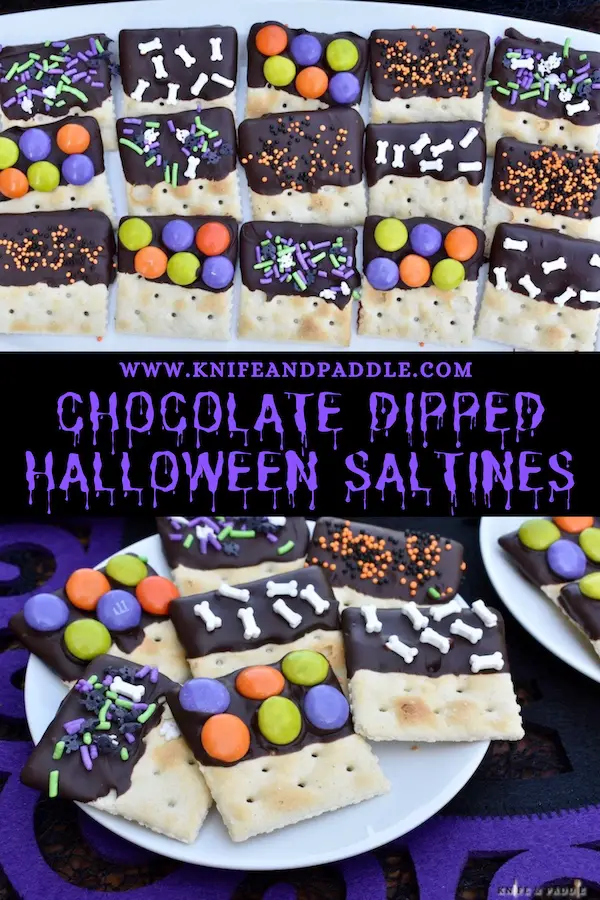
There’s no easier treat to make than these Chocolate Dipped Halloween Saltines! A super easy and delicious, salty-sweet treat!
Imagine the irresistible aroma of chocolate wafting through the air at your favorite concession stand. Now, picture that same indulgence but in a DIY form that you can easily prepare at home. If you’re craving a simple yet delightful concession stand treat, look no further and try these Chocolate Dipped Halloween Saltines. In this blog post, we’ll explore one of the easiest recipes that’s perfect for satisfying your sweet tooth and wowing your guests with a cute and tasty Halloween treat.
Chocolate Dipped Halloween Saltines-Ingredients
- 1 sleeve saltine crackers (about 30)
- 1 package Dolci Frutta chocolate melting wafers (8 oz package, or 8 oz of chocolate melting wafers)
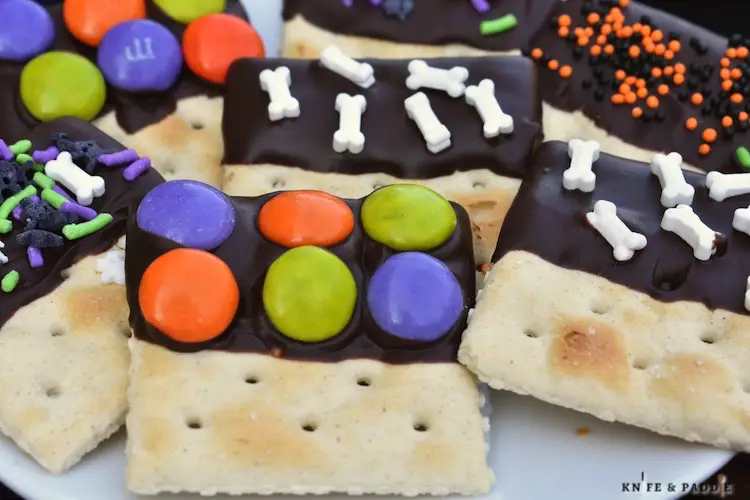
- Halloween sprinkles, nonpareils, M&M’s, etc.
Choosing top-notch saltine crackers is essential for a most delicious and tasty treat These humble crackers serve as the canvas for our chocolate masterpiece, so opt for the best quality you can find. As for the chocolate, select your favorite type or mix and match for a unique flavor profile. The optional toppings will add an extra layer of flavor and texture, so get creative!
Chocolate Dipped Halloween Saltines-Instructions
- Microwave the chocolate wafers in 20-30 second intervals, stirring between each cycle, until it’s completely melted and smooth. Be cautious not to overheat. If chocolate is too thick add 1 teaspoon of vegetable shortening to thin out the chocolate.
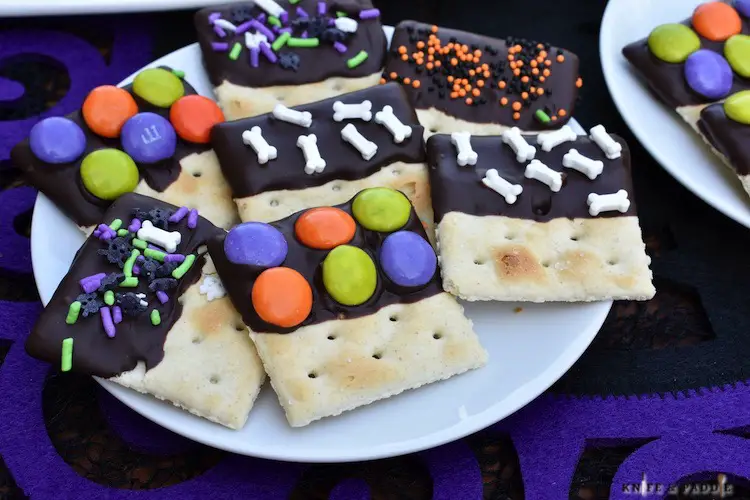
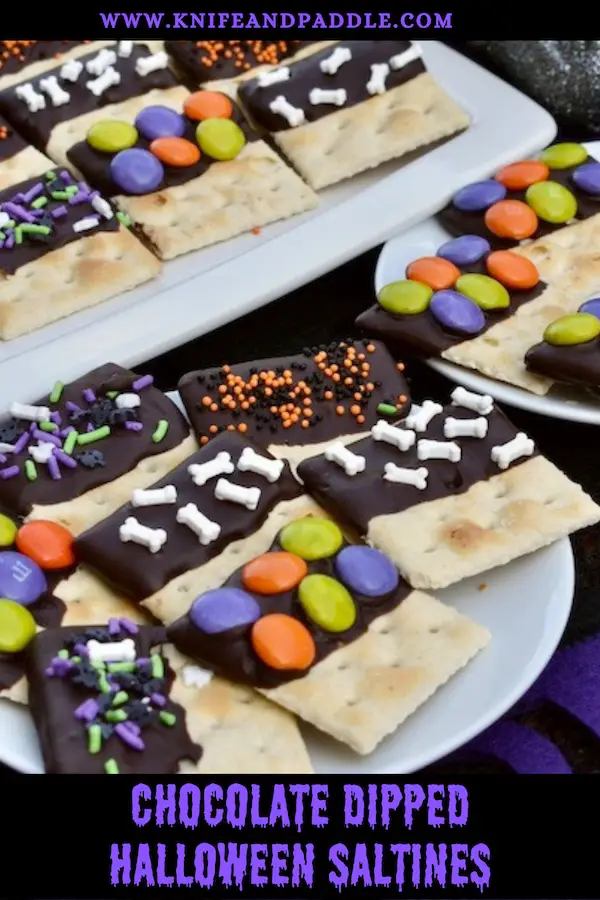
- Dip each saltine cracker halfway into the melted chocolate. Lift and let any excess chocolate drip off. Place on parchment paper.
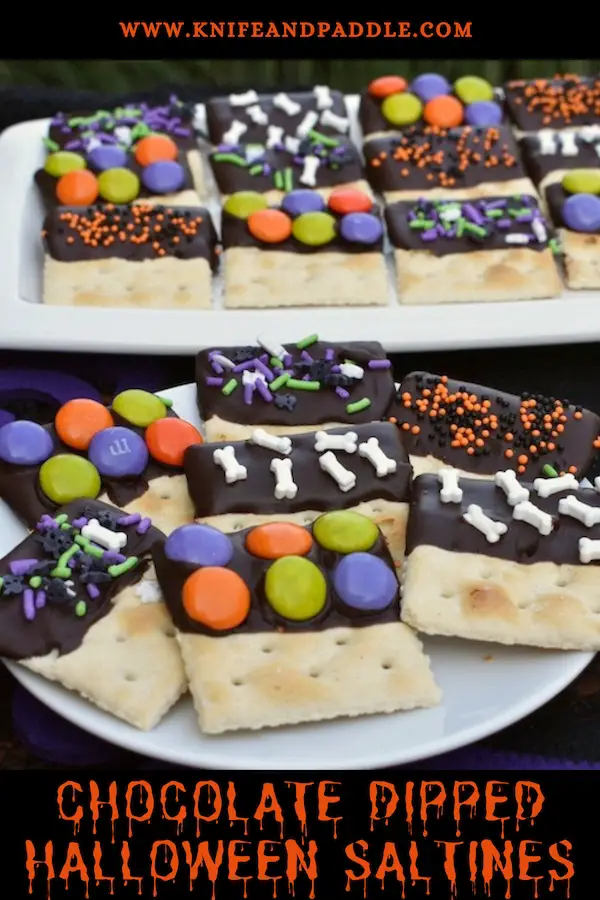
- Add Halloween sprinkles, nonpareils, M&Ms, etc. to the chocolate.
- Allow the chocolate dipped crackers to cool and set.
- You can either refrigerate them for faster results or leave them at room temperature for about 30 minutes to an hour.
- Serve and enjoy!

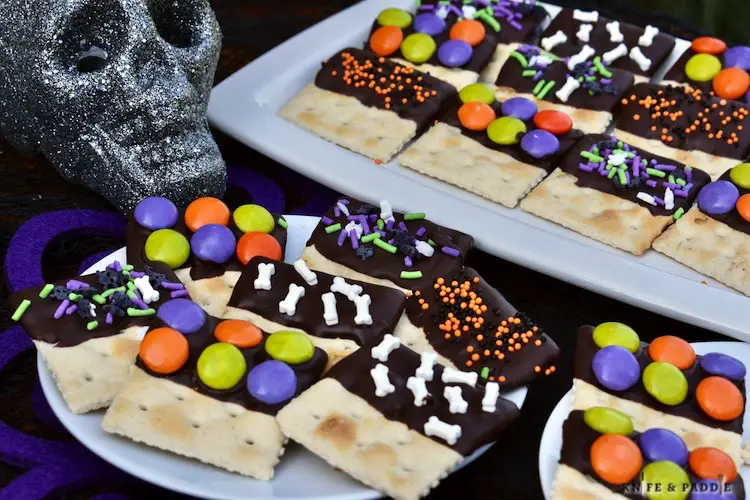
Presentation
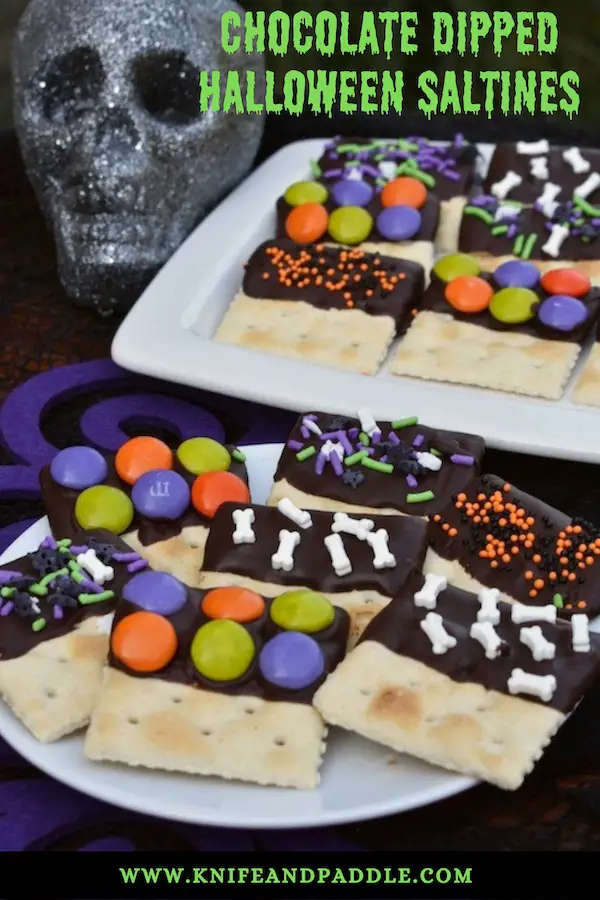
Now that your Chocolate Dipped Halloween Saltines are ready, it’s time to present them. Arrange them on a serving platter or pack them in decorative bags for your guests to grab and enjoy. The glossy chocolate finish and the colorful toppings will catch the eye of anyone passing by.
Variations
Feel free to experiment with this recipe to suit your taste. Consider drizzling caramel or peanut butter over the chocolate-dipped crackers for a mouthwatering twist. You can also adapt this recipe to accommodate various dietary preferences, such as using vegan chocolate or gluten-free crackers.
For an eye-catching look, experiment with colored wafers such as white, orange, purple, or use a combination of colors by drizzling the chocolate over the base. Try different variation and let us know what combination you like best!
Storage and Shelf Life
To keep your Chocolate Dipped Halloween Saltines fresh, store them in an airtight container at room temperature for up to one week. To freeze, place them in an airtight container for up to 3 months. Place wax paper between layers.
Need a last minute, easy Halloween treat? Give this recipe a try!
When you are short on time or just need an easy treat, these Chocolate Dipped Halloween Saltines are your answer. With just a few ingredients and some creativity, you can whip up a sweet treat that’s sure to be a crowd-pleaser. So, give it a try and share your experiences in the comments below. May your Halloween be filled with salty and sweet treats! And remember…
Life’s too short to eat bad food!

For other great Halloween recipes try:
Rice Krispie Halloween Bundt Cake

Chocolate Dipped Halloween Saltines
Equipment
- microwave or double broiler
- Baking sheet
- Parchment paper
Ingredients
- 1 sleeve saltine crackers about 30
- 1 package Dulco Frutta chocolate melting wafers 8 oz package or 8 oz chocolate melting wafers
- Halloween sprinkles, nonpareils, M&M's, etc.
Instructions
- Line baking sheet with parchment paper.
- Microwave the chocolate wafers in 20-30 second intervals, stirring between each cycle, until it's completely melted and smooth. Be cautious not to overheat. If chocolate is too thick add 1 teaspoon of vegetable shortening to thin out the chocolate.
- Dip each saltine cracker halfway into the melted chocolate. Lift and let any excess chocolate drip off. Place on parchment paper.
- Add Halloween sprinkles, nonpareils, M&Ms, etc. to the chocolate.
- Allow the chocolate dipped crackers to cool and set. You can either refrigerate them for faster results or leave them at room temperature for about 30 minutes to an hour.
- Serve and enjoy!


Recent Comments