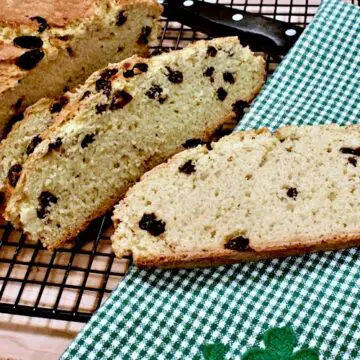
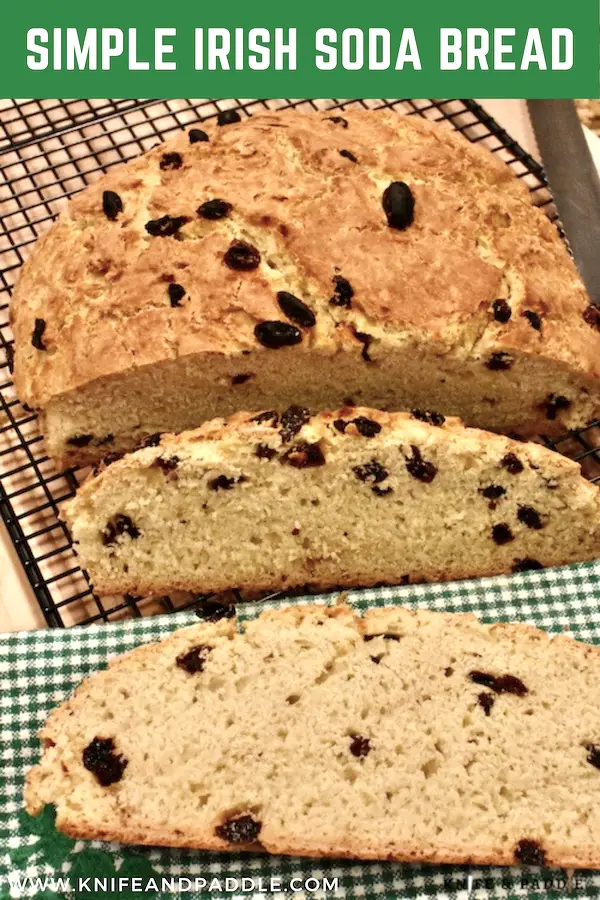
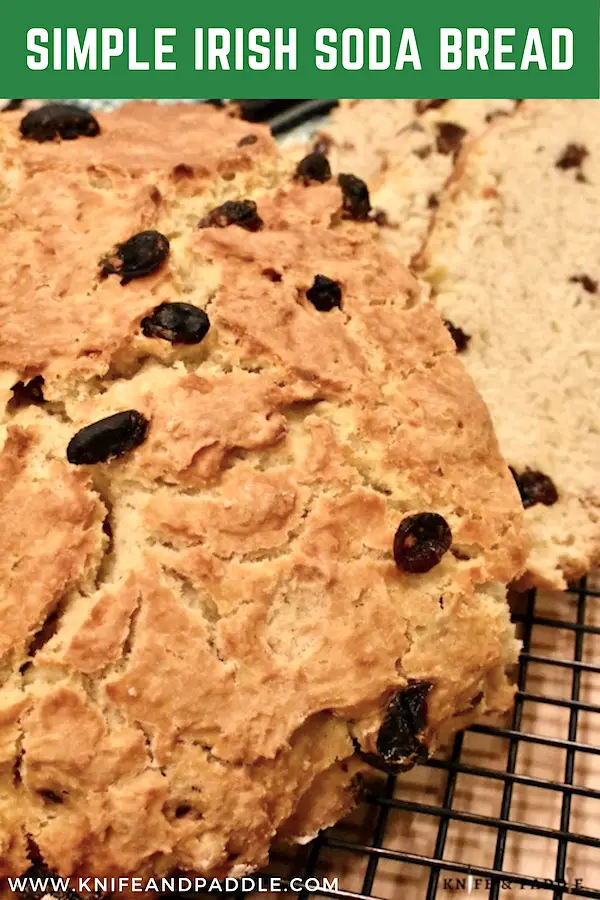
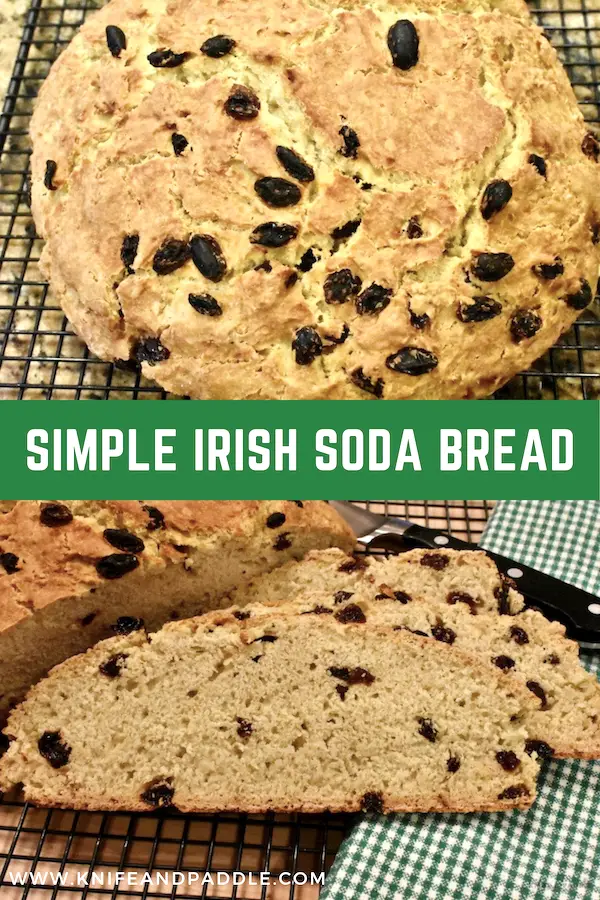
This Simple Irish Soda Bread is subtly sweet and has a delicious crusty exterior. There’s no yeast involved making this bread easy to make!
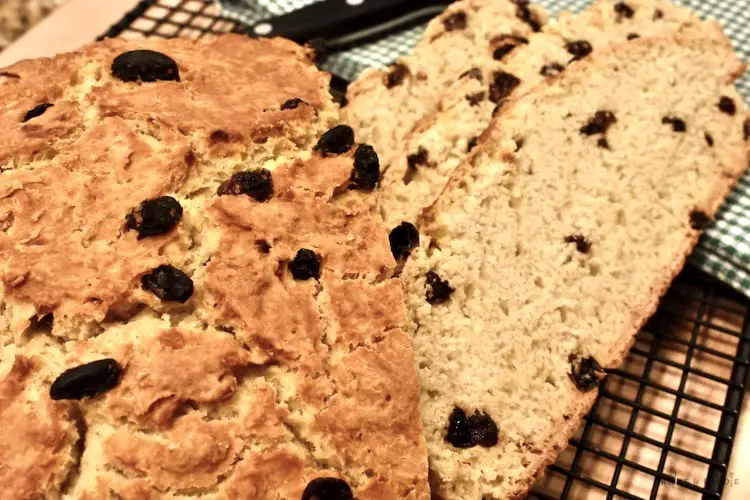
Today we are bringing you this Simple Irish Soda Bread. An easy bread to make for your family and friends for your upcoming St. Patrick’s Day celebration. In this post, we’ll walk you through the process of creating this beloved bread, step by step. There’s something truly special about the aroma of freshly baked bread filling your kitchen, and with our easy-to-follow recipe, you’ll be able to experience that magic in no time. Gather your ingredients and soon you will discover the joy of making Irish soda bread from scratch.
Why you will love this Simple Irish Soda Bread
- No yeast involved making it simple to whip up!
- Great addition to your St. Patrick’s Day celebration!
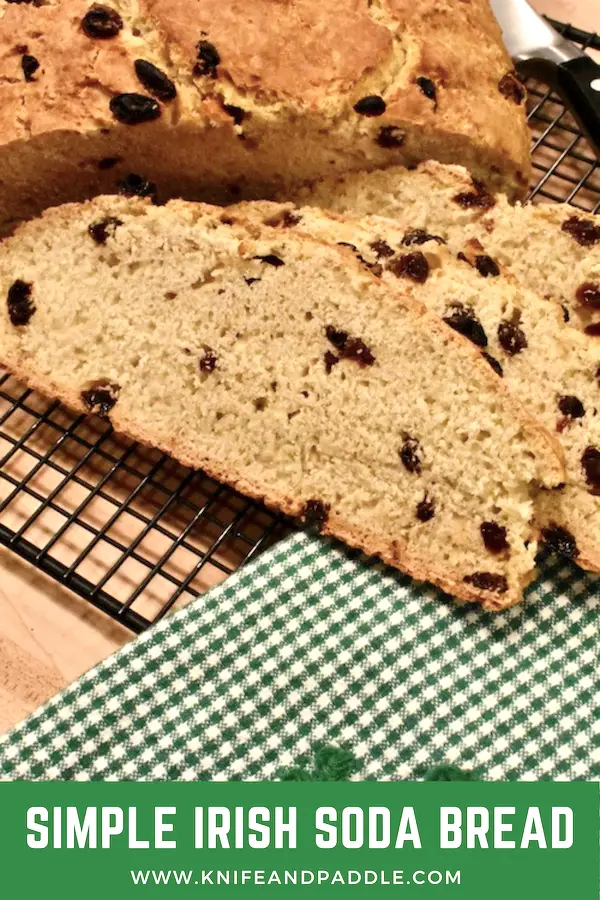
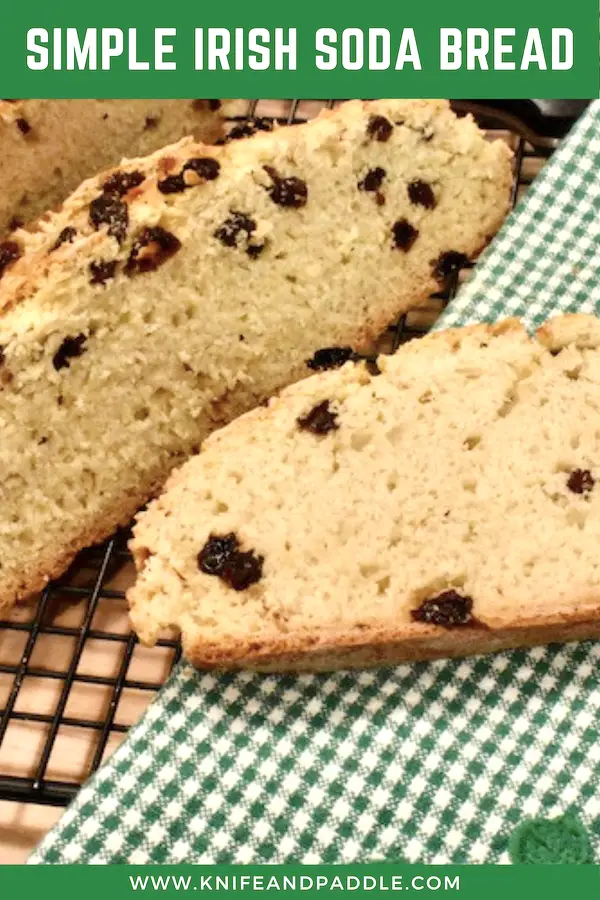
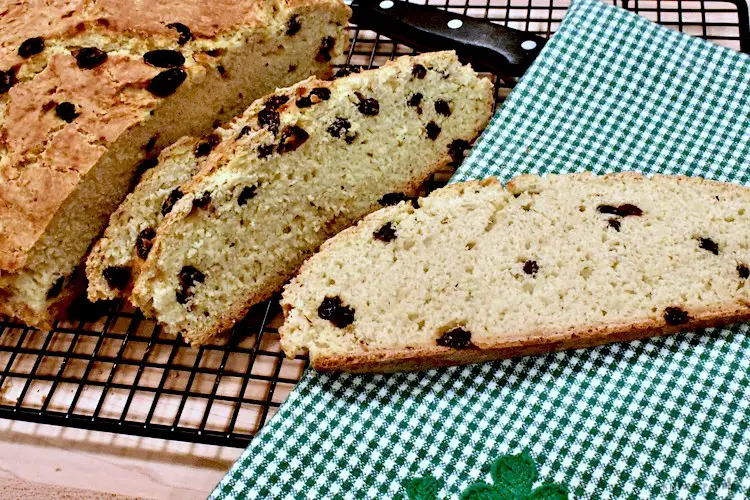
- Rustic, crusty with a soft tender inside filled with raisins!
- Perfect for breakfast, lunch or dinner!
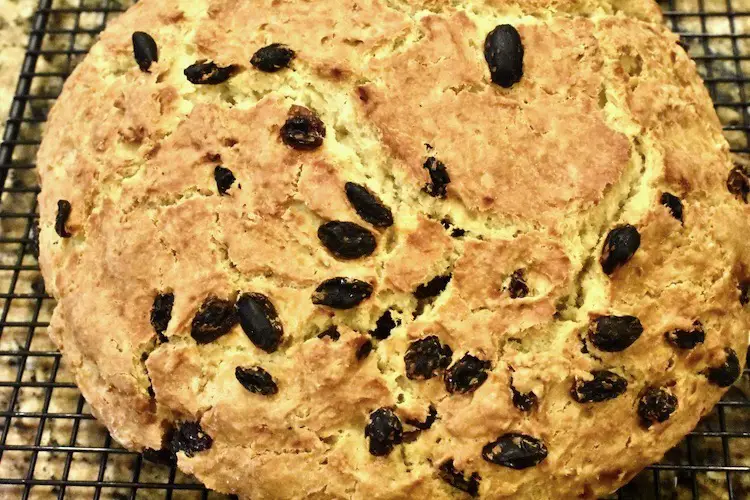
History of the Irish Soda Bread
Irish soda bread is a traditional quick bread that has been a staple in Ireland for centuries. Its history is closely tied to the availability of ingredients and the socio-economic conditions of Ireland.
The origins of soda bread can be traced back to the early 19th century in Ireland. At that time, Ireland was predominantly an agricultural society, and many families lived in rural areas where access to yeast for traditional bread-making was limited. Baking soda (sodium bicarbonate) became a popular alternative leavening agent due to its accessibility and affordability.
Traditional Irish soda bread is made from basic ingredients such as flour, baking soda, salt, and buttermilk. The use of buttermilk reacts with the baking soda to create carbon dioxide bubbles, causing the bread to rise. Historically, Irish soda bread was made with wholemeal flour, as it was more readily available than refined white flour.
Soda bread was particularly popular among the poorer classes in Ireland due to its simplicity and cost-effectiveness. It was made quickly and with minimal ingredients, making it a staple in households where resources were scarce.
Over time, variations of soda bread emerged, incorporating additional ingredients such as eggs, butter, sugar, raisins, or currants. These variations often depended on regional preferences and the availability of ingredients. Sweetened versions, often called “spotted dog” or “railway cake,” became popular treats for special occasions.
Overall, Irish soda bread’s history reflects the resilience and resourcefulness of the Irish people in adapting to their circumstances and creating a simple yet delicious staple that has stood the test of time.
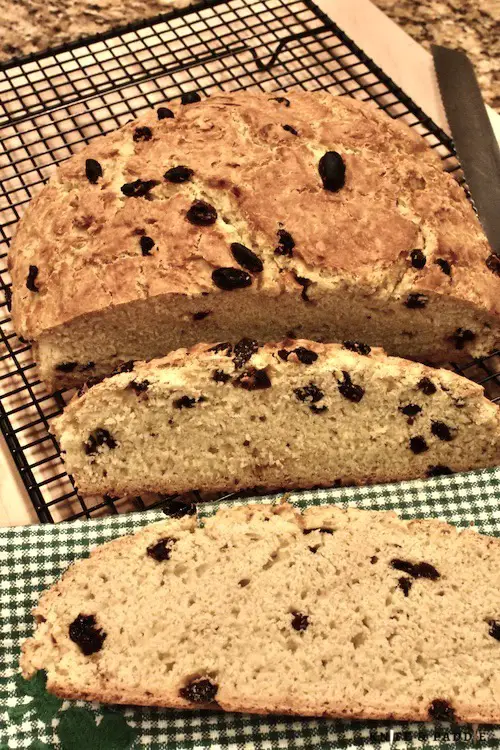
Understanding the Ingredients
Before we begin, let’s take a moment to understand the key ingredients that make Irish soda bread so unique. The basic components include flour, baking soda, salt, and buttermilk. Flour provides structure, while baking soda acts as the leavening agent, creating the bread’s characteristic rise. Salt enhances the flavor, and buttermilk adds moisture and tanginess to the dough. If you don’t have buttermilk on hand, you can easily make a substitute by combining regular milk with lemon juice or vinegar.
Simple Irish Soda Bread-Ingredients
- 4 tbsp butter (melted)
- 2 tbsp sugar
- 4 1/4 cups all purpose flour
- 1 1/2 tsp baking soda
- 1 tsp salt
- 2 cups buttermilk
- 1 egg (lightly beaten)
- 1 tsp grated orange zest
- 1 cup raisins
Instructions
- Preheat oven to 425 degrees.
- Grease a dutch oven pan with butter and lightly dust with flour.
- In a small sauce pan melt the butter and sugar. Set aside.
- Combine flour, baking soda, and salt in a large mixing bowl. Whisk together.
- Pour in buttermilk, egg and melted butter and sugar.
- Gather and knead the dough for about 1 minute. Drop in raisins and knead until combined. Dough will be sticky.
- Shape dough into a thick round disk. Use a sharp knife to score a cross on the top of the loaf and place into the dutch oven.
- Cover and bake for 30 minutes.
- Uncover and bake for about 10 minutes longer or until golden brown and the bread sounds hollow when tapped.
- Remove from the dutch oven and place on a wire rack too cool.
- Cut, serve and enjoy!
- This bread is best warm or toasted with a slab of butter.
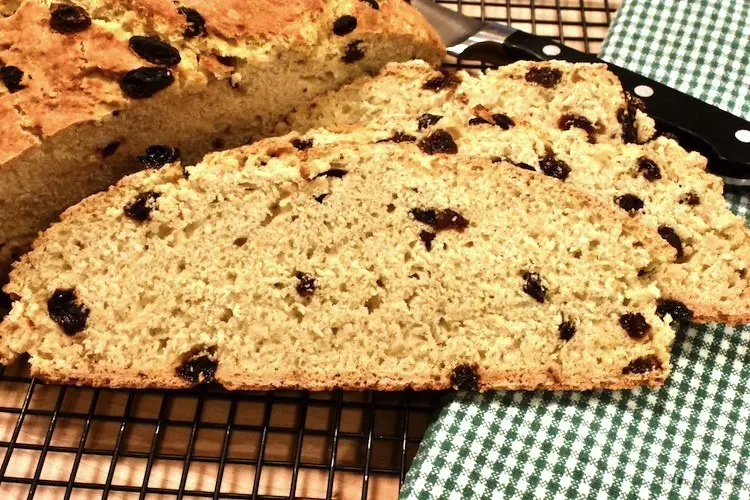
Serving Suggestions
Irish soda bread is best enjoyed fresh out of the oven, slathered with butter or served alongside your favorite soups and stews. Serve it for breakfast or for a snack too!
Fill your kitchen with the aroma of fresh bread!
Congratulations! You’re now equipped to successfully make your own homemade Irish soda bread. We hope you enjoyed the process as much as we enjoyed guiding you through it. Remember, baking bread is as much about the journey as it is about the end result. So don’t be afraid to experiment with different flavors and variations to make this recipe your own. Be sure to share your baking adventures with us in the comments below. Happy baking! And remember…
Life’s too short to eat bad food!
For additional St. Patrick’s Day recipes try:
Simple Irish Soda Bread
Equipment
- Dutch oven, lined baking sheet, seasoned cast iron pan or 9-10 inch pie plate
- Mixing Bowl
- Sauce Pan
Ingredients
- 4 tbsp butter melted
- 2 tbsp sugar
- 4 1/4 cups all purpose flour
- 1 1/2 tsp baking soda
- 1 tsp salt
- 2 cups buttermilk
- 1 egg lightly beaten
- 1 tsp grated orange zest
- 1 cup raisins
Instructions
- Preheat oven to 425 degrees.
- Grease a dutch oven pan with butter and lightly dust with flour.
- In a small sauce pan melt the butter and sugar. Set aside.
- Combine flour, baking soda, and salt in a large mixing bowl. Whisk together.
- Pour in buttermilk, egg and melted butter and sugar.
- Gather and knead the dough for about 1 minute. Drop in raisins and knead until combined. Dough will be sticky.
- Shape dough into a thick round disk. Use a sharp knife to score a cross on the top of the loaf and place into the dutch oven.
- Cover and bake for 30 minutes.
- Uncover and bake for about 10 minutes longer or until golden brown and the bread sounds hollow when tapped.
- Remove from the dutch oven and place on a wire rack too cool.
- Cut, serve and enjoy!
- This bread is best warm or toasted with a slab of butter.
Notes
-
-
Freezing instructions: Once baked and cooled, this bread can be frozen for up to 3 months. Freeze whole or in pieces. Wrap tightly in heavy duty foil and place in a freezer bag.
-
Baking Dish Options: I used my dutch oven for this recipe. However, if you do not have one you can use a seasoned cast iron pan, a lined baking sheet, or a 9-10 inch pie plate buttered and lightly floured. You may need to cover with tin foil if your loaf is browning too quickly.
- Buttermilk: If you do not have buttermilk on hand you can make your own. Add one tablespoon of lemon juice or vinegar to one cup of milk and stir. Let sit for 5 minutes (milk with start to curdle) and then use in your recipe.
-


Recent Comments